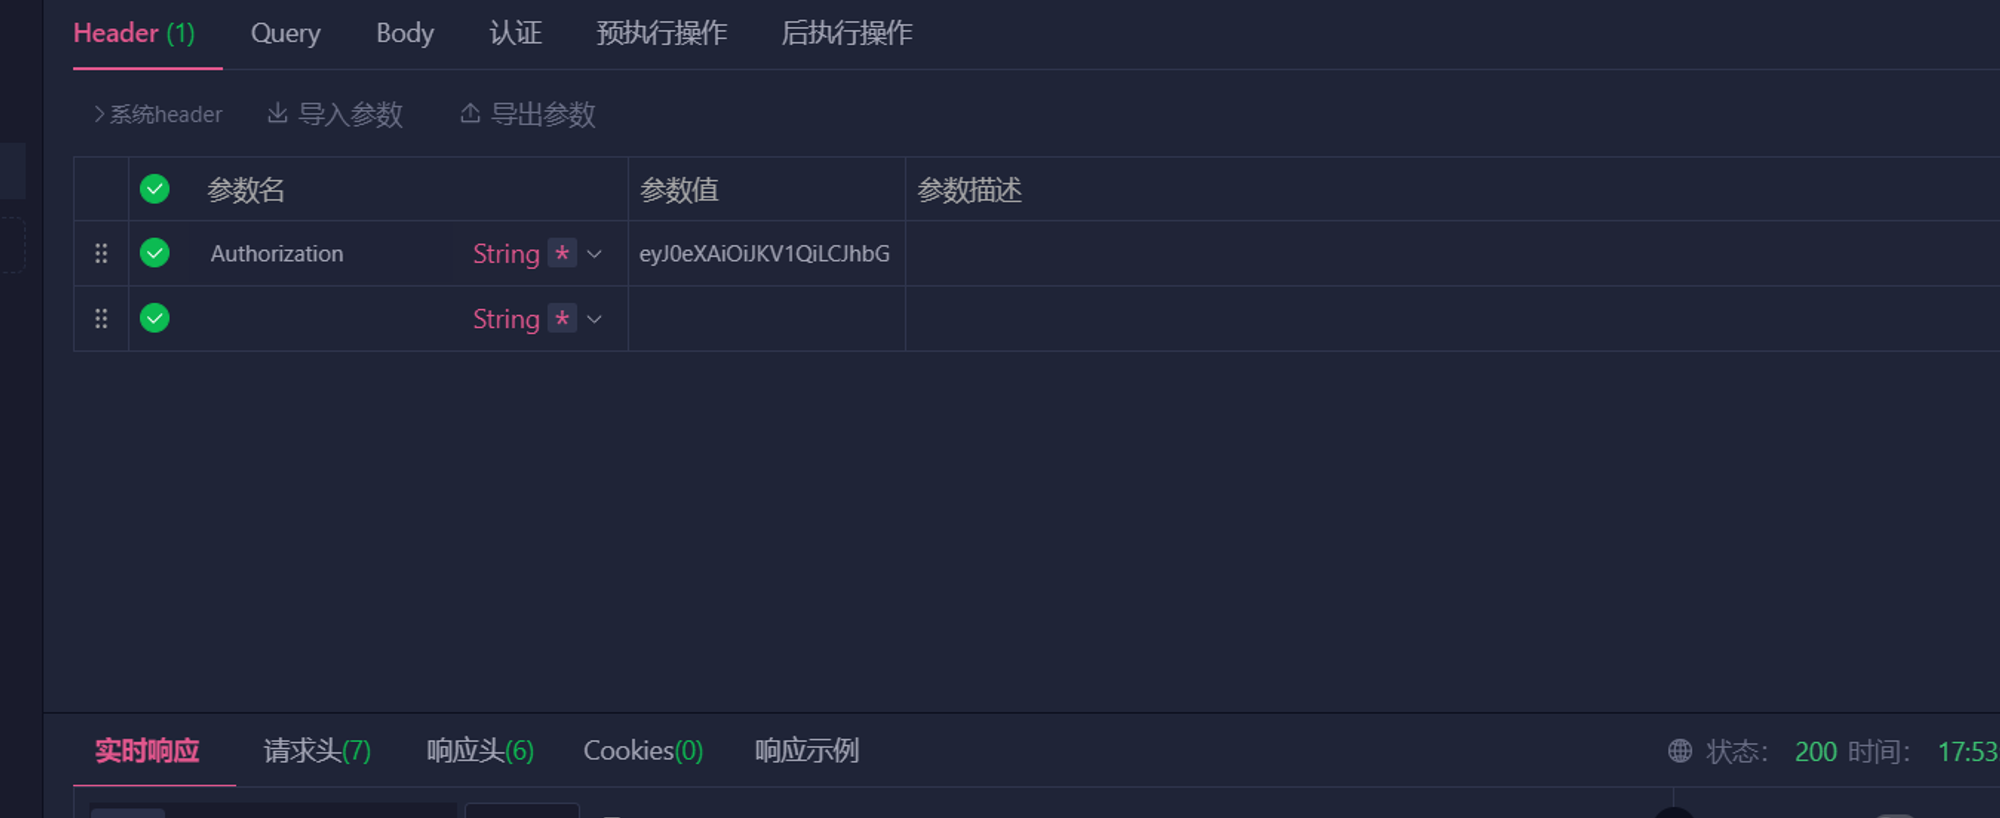
现在我有两个用户:
| user_name | role name |
|---|---|
| bob | hcare_normal |
| tom | hcare_test |
我希望 hcare_normal 这个角色l能访问 /test/httpbin 这个路由, hcare_test 不能访问。
首先我们在 apisix dashboard 中创建两个 customer,也就是业务中的 role,在创建过程中启用插件 jwt-auth,如图:

customer配置类似如下:
{
  "username": "hcare_normal",
  "plugins": {
    "jwt-auth": {
      "exp": 86400, // token失效时间
      "key": "123", // 唯一key,用来jwt-auth验证身份
      "secret": "123" // 密钥,用来解token
    }
  }
}
然后我们给 authz-casbin 做配置,用的是 plugin_metadata保存配置:
curl http://apisix-admin:9180/apisix/admin/plugin_metadata/authz-casbin \
-H 'X-API-KEY: edd1c9f034335f136f87ad84b625c8f1' -i -X PUT -d '
{
"model": "[request_definition]
r = sub, obj, act

[policy_definition]
p = sub, obj, act

[role_definition]
g = _, _

[policy_effect]
e = some(where (p.eft == allow))

[matchers]
m = (g(r.sub, p.sub) || keyMatch(r.sub, p.sub)) && keyMatch(r.obj, p.obj) && keyMatch(r.act, p.act)",

"policy": "
p, admin, /test/httpbin, GET
g, hcare_normal, admin"
}'
在实际情况中,并不希望一个用户就在 apisix 上创建一个customer,最好粗粒度一点,比如一个角色对应一个 customer,然后签名 token 的时候,将业务角色所对应的 customer 的 key 签到 token 的 key 里,这样就可以角色对应 customer 了。
在创建 route 的时候,配置 authz-casbin,这里使用 admin api 进行更改创建,因为 dashboard 并不支持 authz-casbin 使用 plugin_metadata 进行创建:
curl http://apisix-admin:9180/apisix/admin/routes/487097290209624969 \
-H 'X-API-KEY: edd1c9f034335f136f87ad84b625c8f1' -X PUT -d '
{
    "uri":"/test/httpbin",
    "name":"httpbin",
    "host":"test-api.com",
    "plugins":{
        "jwt-auth":{
            "_meta":{
                "disable":false,
                "priority": 2
            }
        },
        "authz-casbin":{
            "_meta":{
                "disable":false,
                "priority": 1
            },
            "username":"Token-Customer"
        },
        "proxy-rewrite":{
            "uri":"/get"
        }
    },
    "upstream":{
        "nodes":[
            {
                "host":"httpbin.org",
                "port":80,
                "weight":1
            }
        ],
        "timeout":{
            "connect":6,
            "send":6,
            "read":6
        },
        "type":"roundrobin",
        "scheme":"http",
        "pass_host":"pass",
        "keepalive_pool":{
            "idle_timeout":60,
            "requests":1000,
            "size":320
        }
    },
    "status":1
}'
在两个插件之间设置 priority,用来设置插件执行先后,先检验 jwt-auth,后检验 authz-casbin。
修改jwt-auth
authz-casbin 的鉴权逻辑是,例如我有一个配置是:
"authz-casbin":{
    "username":"Token-Customer"
}
这样 authz-casbin 就需要在 Header 往取出一个 Token-Customer 的值,这个值就是 Casbin 鉴权里的用户。
现在的思路是希望 jwt-auth 验证通过后,将 key 对应的 customer_name 放入 header,然后再通过这个 customer_name 作为用户去做进一步的鉴权。但是现有的 jwt-auth 不会做这件事,需要做一些修改。apisix 支持同名自定义插件覆盖原插件。
通过查看 authz-casbin 插件的源码,发现 username 是从上下文的 headers 拿出,所以需要在 jwt-auth 的处理逻辑里将 customer 塞进上下文的 headers 中。
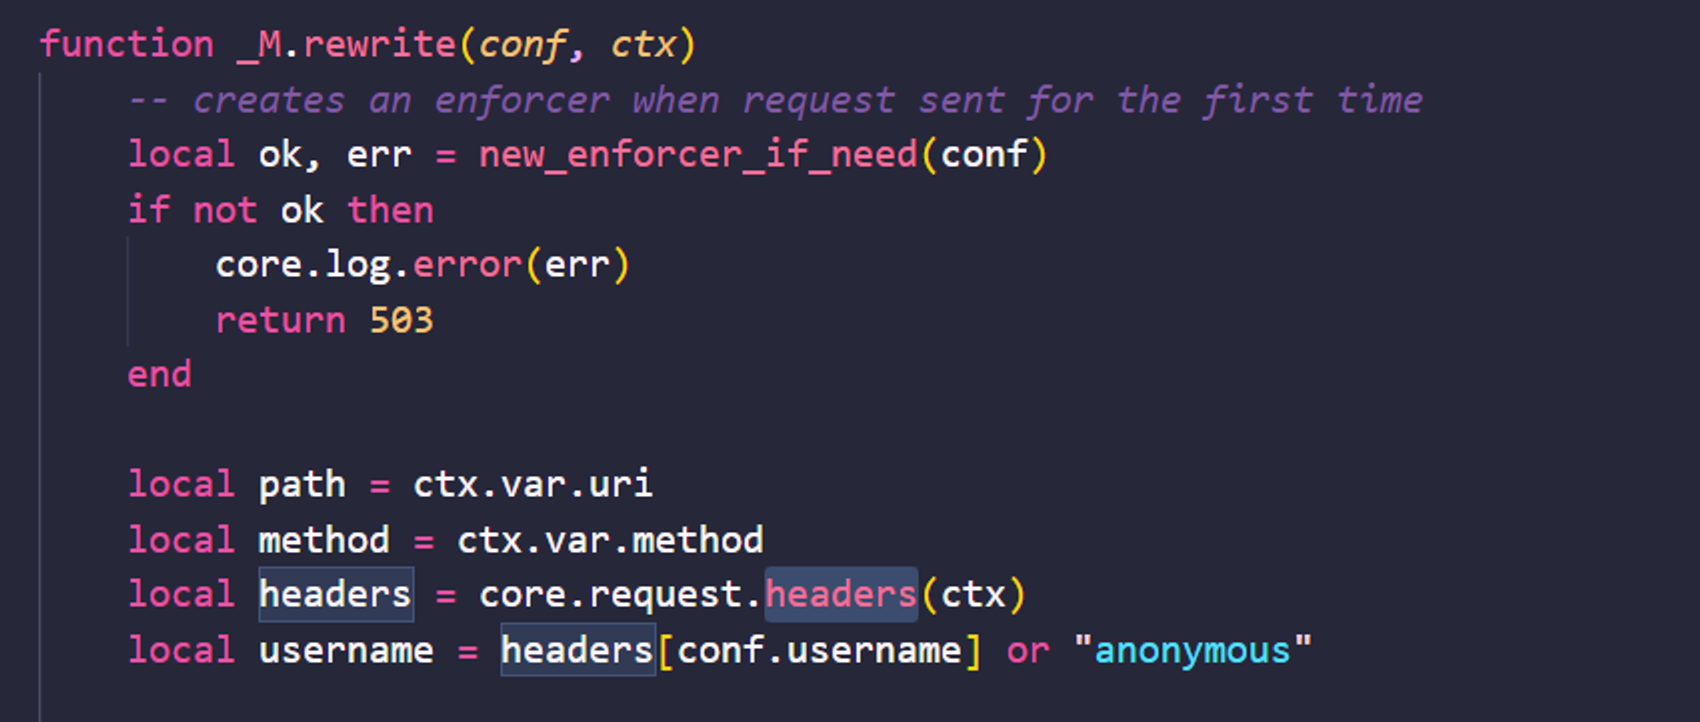
在 jwt-auth 的 _M.rewrite 函数结尾添加如下内容:
---负值新 header
ctx.headers["Token-Customer"] = consumer.consumer_name
将修改完的 jwt-auth 插件通过 configmap 挂载到 apisix 中,depolyment 如下:

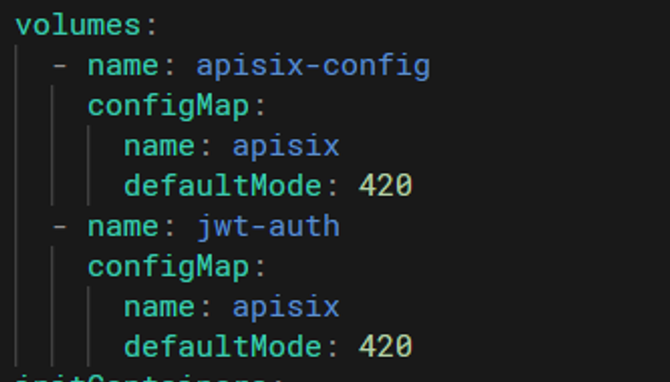
configmap:
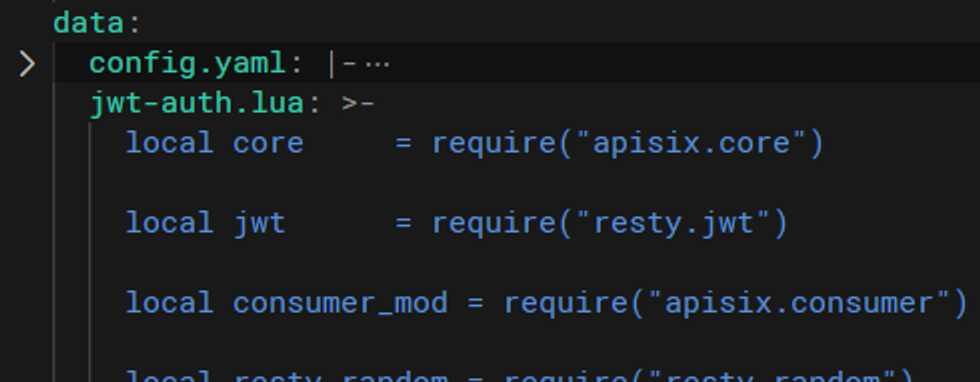
在 apisix 的配置文件里添加如下内容:
enable_debug: true
enable_dev_mode: true
extra_lua_path: "/usr/local/apisix/my/?.lua"
这样自定义的 jwt-auth 就覆盖了原 jwt-auth。
构建token
创建一个满足 jwt-auth 要求的 token,至少要有 key 和 exp
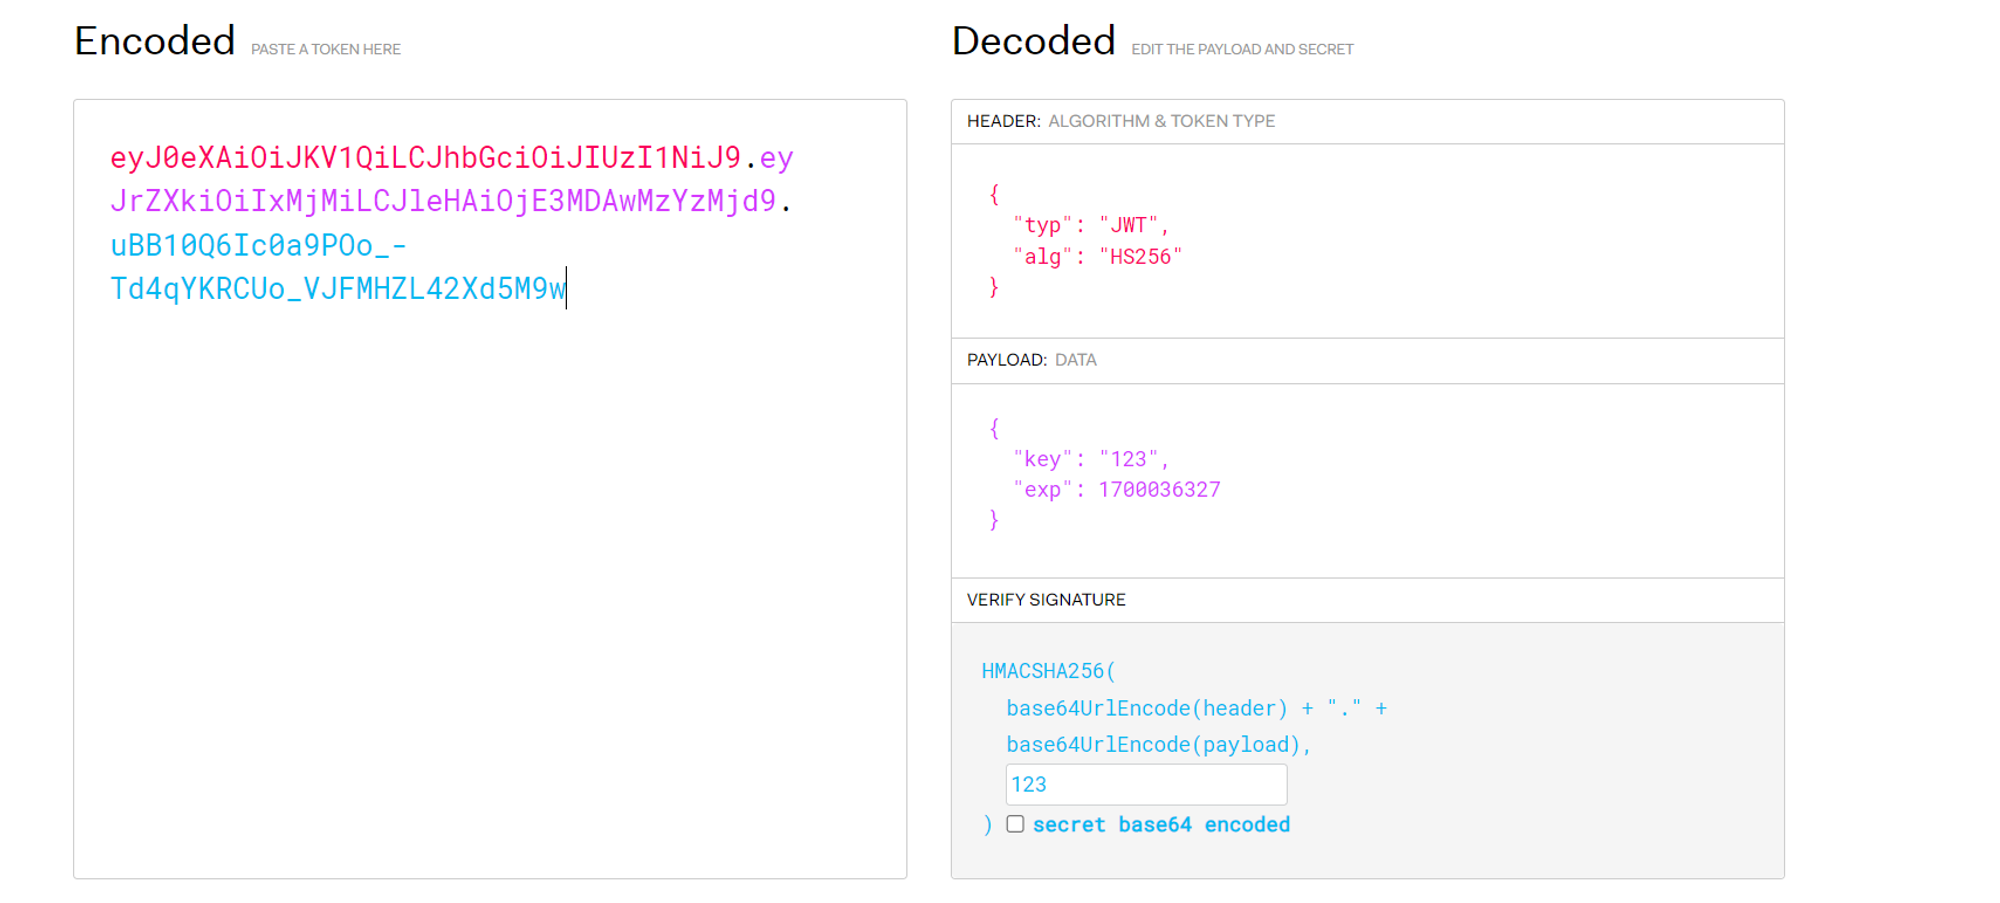
jwt-auth 在解析 token 的时候,拿到了这个 key 对应的 customer,然后将 customer 放入上下文的 header 中,接下来的 authz-casbin 从 header 拿出用户,通过 Casbin 鉴权,然后放行。
